How to Fit an Electric Shower
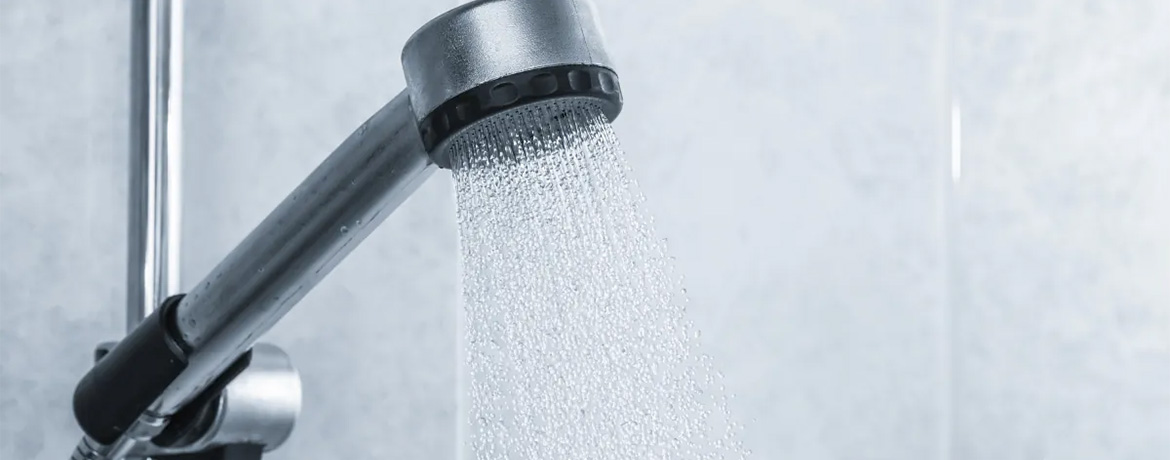
An electric shower is a type of shower that only takes water from the mains cold water supply and heats the water, rather than from a hot water supply like a power shower, and is a popular type of shower installed in many commercial washrooms. But how exactly do you go about installing an electric shower in your washroom? Installing an electric shower is a relatively simple process, but installation must be carried out by a trained electrician.
What You’ll Need:
- Electric showers need a minimum water pressure to work, as well as a minimum flow rate requirement. Check your manufacturer's guide for more info.
- A cleared area ahead of installation, in order to work more comfortably.
- A Power Drill
- Stopcock
- Pipe Cutter
- Yellow/Green Wire Sleeving
- Double Pole Pull-Switch
- Masonry Bit
- Half-Inch Copper Branch Pipe
How to Install Electric Shower
Note: These instructions may differ between manufacturers. Please consult the manufacturers' guide accompanying your shower.
- Identify where you’re installing the shower in your washroom; it needs access to a mains cold water supply in a safe, accessible location.
- Use the masonry bit and the drill to drill pilot holes into the wall where you’re mounting the shower unit; holes will need to fit the copper branch pipe.
- Cut the pipe and insert it in the hole; then attach the stopcock to the end of the branch pipe (check that the arrow is pointing away from the rising main and towards the showerhead).
- Next, attach the T-joint to the rising main and tighten it as necessary, before cutting an extra piece of connecting pipe to link the T-joint to the stopcock, and link the branch pipe to the main valve.
- Fix the shower end to the end of the branch pipe, before fixing the shower unit box to the wall with the pilot holes. Attach the flexible spray hose to the shower unit and head.
- Next, you must create a hole in the ceiling, attaching the mounting board that the pull-switch backplate will connect to. Run a circuit cable through the mounting board up to the ceiling; leaving a sufficient amount of cable at the switch location.
- Strip back the leftover cable at the switch to reveal one black wire, one red wire and a group of bare wires. Entwine the bare wires, then do the same with the ground wires, then cover them individually with the green and yellow sleeving.
- Attach the newly sleeved wires to the “E” terminal on the pull switch, then connect the black wire to the “N” terminal and the red to the “L” terminal.
- Strip back the cable linked to the shower unit, as before, to reveal one black wire, one red wire and a group of bare wires. Repeat step 8 with these wires, making sure to cover the bare wires with the sleeving as before.
- Run the shower cold to flush out any dirt and debris in the system and run it on full power to release all the air. Switch it off once more, then link the showerhead to the hose before finally checking that the unit is set to a comfortable temperature.
If you’ve followed all these steps correctly, you should have a hot electric shower ready to use in your washroom! If you’re interested in buying electric showers for your commercial washroom, you can browse our range of electric showers here.
This article has been written in good faith as a helpful guide; please consult your manufacturer's installation manual for a full installation guide. Installation of the washroom products sold on the Commercial Washrooms website should only be carried out by fully trained and qualified tradespeople.
MORE TO EXPLORE IN Related Posts
Triton T80 pro-fit electric shower 8.5kW

Mira Vie Electric Shower 8.5kW White
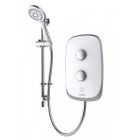
Aqualisa eVolve Electric Shower with Adjustable Head

