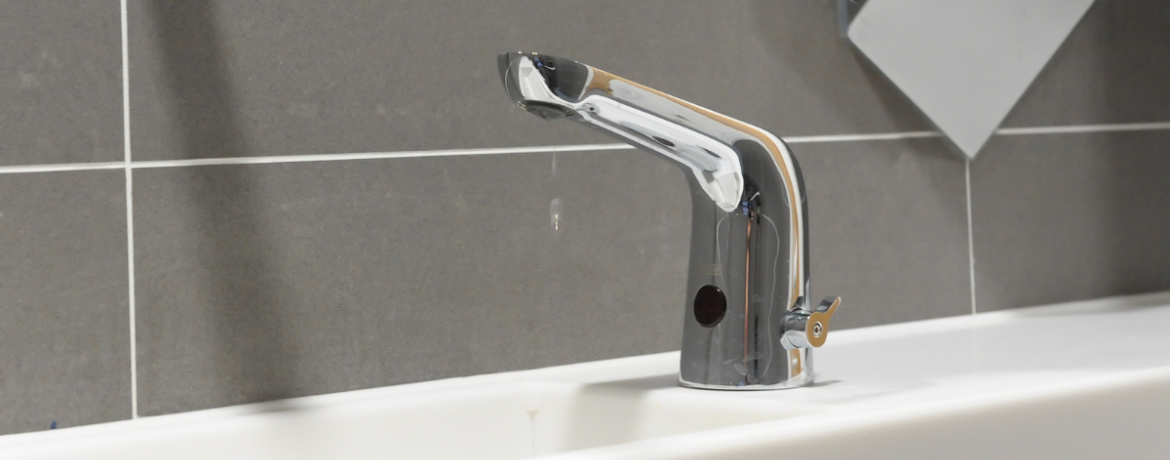
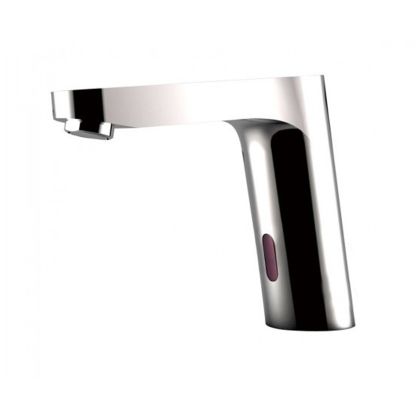
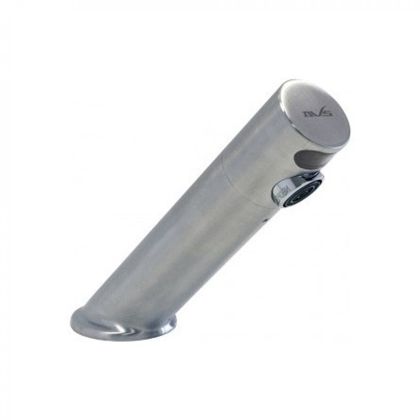
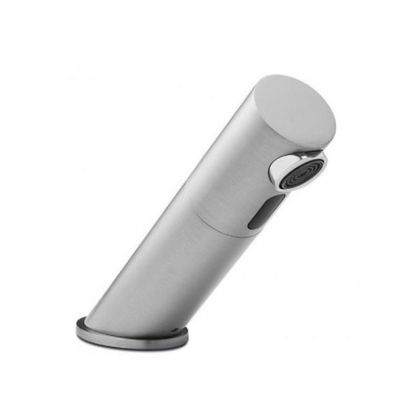
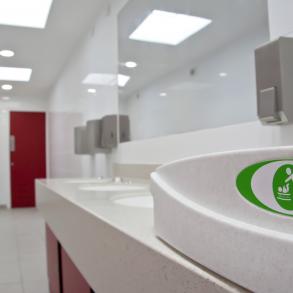
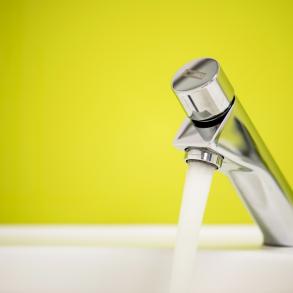
Sensor taps are a powerful option when refurbishing or creating new wash spaces, particularly when looking to improve hygiene. When we are designing easy clean, or hygienic washrooms, we are trying to reduce the number of touch points in the room. These are all the areas or items that need to be physically touched by a washroom user. Sensor activation allows us to remove touch points at the light switch and toilet flushing controls, but nowhere is it more needed than the tap.

At the hand washing stage of a users journey, they are touching the tap with dirty hands, and then again with clean hands to switch off the tap. Therefore sensor activated taps and hand dryers are arguably the most important steps to consider when looking to improve hygiene in the commercial wash space.
Installing sensor taps is a simple process that can be carried out by professional plumbers. Here we give you a break down of how this takes place:
Step one: Fit the solenoid valve
The solenoid valve is the device that opens and closes the flow of water. This is actually fitted into the blended warm feed pipework that comes after the thermostatic mixer valve. The solenoid valve goes into the pipework, and is then attached to the tap at a later stage. The solenoid valve is usually fitted at the first fix stage.
It’s important to check that you have the correct solenoid valve for your water pressure. Solenoid valves come in low pressure and high pressure options. If you have the incorrect solenoid valve for your water system, the tap will either not open and emit water, or fail to shut off once opened.
Step two: Wire the solenoid valve in
The solenoid valve needs to be wired into a mains spur. This means the wiring is led to a concealed unit that can be isolated by a switch. On a long run of basins or a wash trough, some will be tempted to wire more than one sensor tap into a mains spur. We do not recommend this, and always ensure each tap is wired into it’s own spur. This means that if a tap is in need of maintenance, you can isolate the affected tap only, rather than putting all of your sensor taps out of action in one go.
Most sensor taps have the infra-red sensor integrated into the tap itself. However, in some cases you may have a separate sensor that can be mounted on the wall or counter near to the tap. If this is the case, then this also needs to be installed and considered at the first fix stage.
Step three: Mount the wash basin
The wash basin, or wash trough needs to be installed as part of the second fix plumbing. When the unit is securely mounted on the wall, we can then think about fitting the tap. Some options will be wall mounted above the wash basin, while others might be counter or wash basin mounted.

Step four: Fit your sensor taps
Your sensor taps will need to be fixed securely to the IPS panel behind the wash basin, or to the wash basin itself. You will then join the connections underneath the tap to the solenoid valve, which sits between the tap and the thermostatic mixer valve.
Before turning the water on, it’s important to bleed out the initial flow of water so that you don’t get debris or buildup in the thermostatic mixer valve, or the sensor tap itself.
If you would like further advice on sensor taps, or to take advantage of our supply and fit services, get in touch today on 01202 650900

