How To Install A Back To Wall Toilet
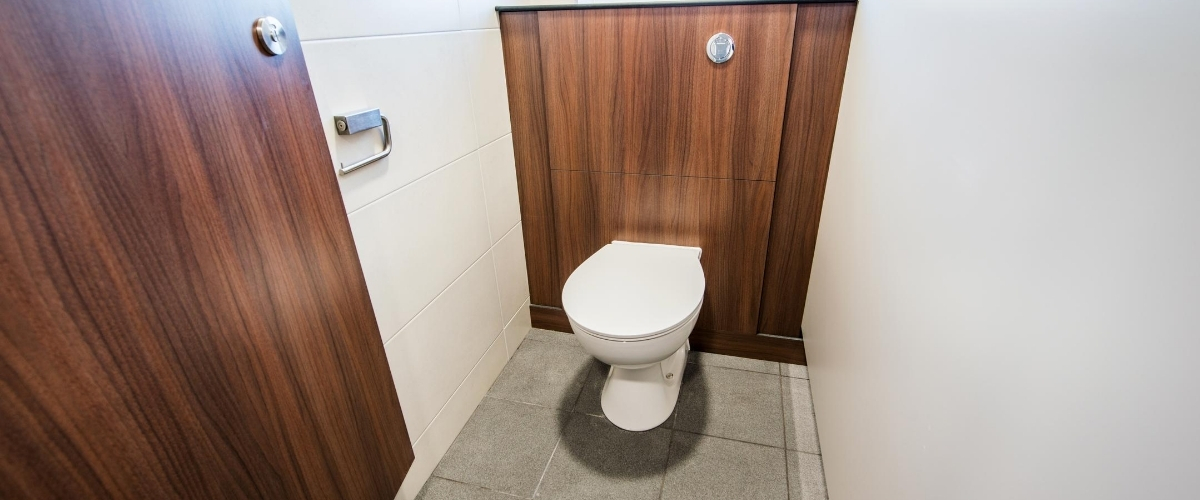
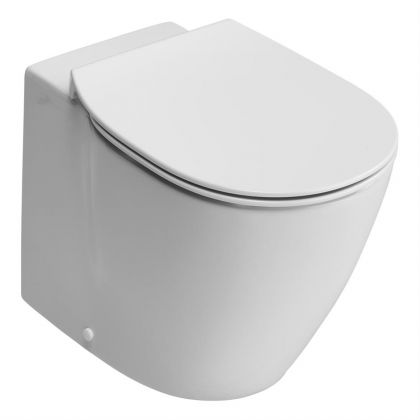
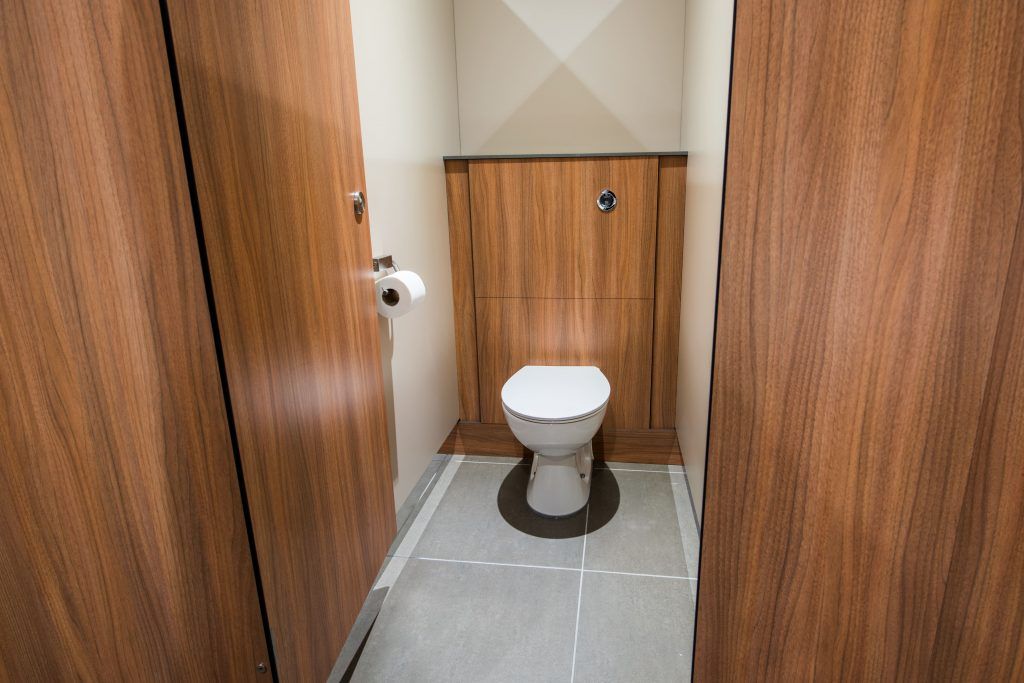
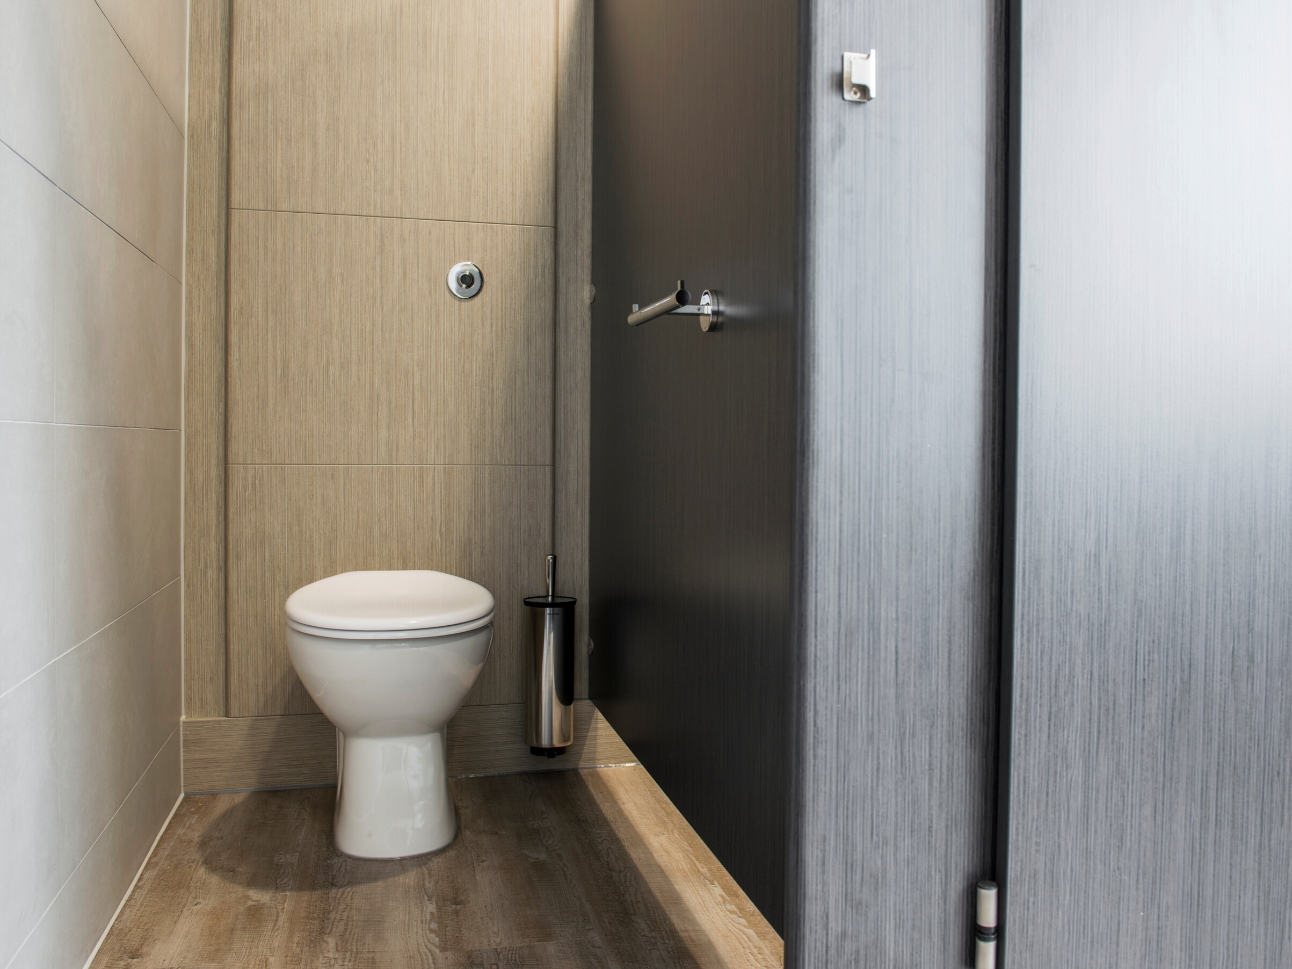
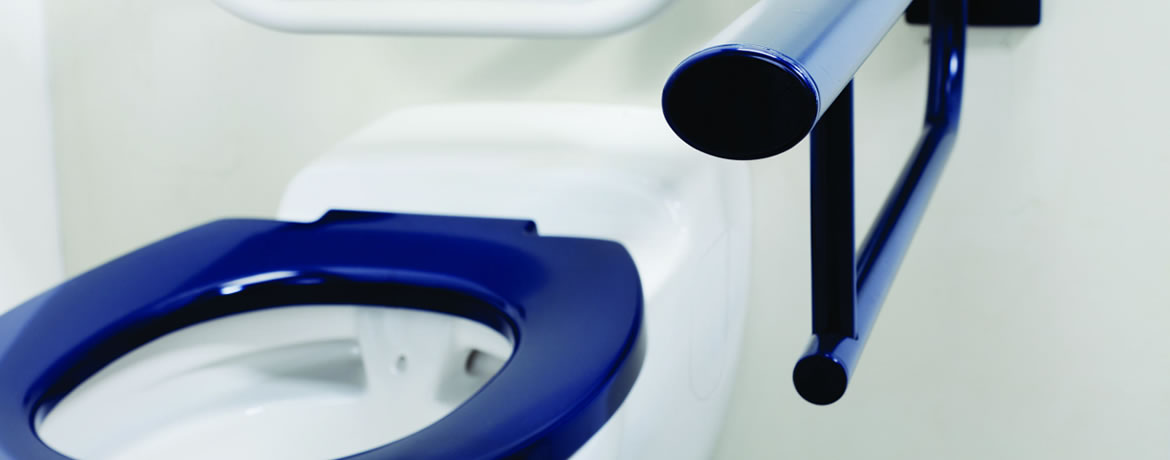
There are two main benefits with back to wall toilets, they reduce clutter, keeping the design nice and sleek, and they ensure the cistern and pipework is protected in the posterior void. Now that last point is important. If you are looking to install back to wall toilets, then you need to have a void behind the toilet pan where all the plumbing is located.
Why you need a DUCT system with back to wall toilets
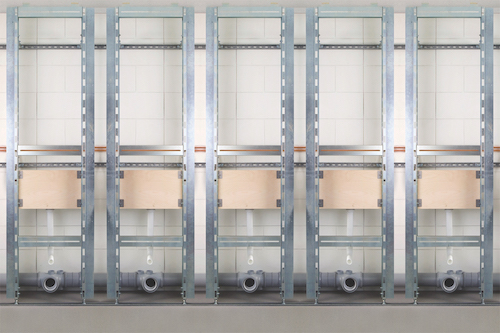
Unlike a domestic close-coupled toilet, where the cistern sits on the top of the toilet pan, a back to wall toilet requires the cistern to be concealed within an integrated plumbing system (IPS). To do this, we create a void using a DUCT set. This is essentially a false wall, behind which we secure all our cisterns, waste pipes and flush kits
How to install a back to wall toilet
STEP ONE: First fix plumbing
Before your DUCT set is fitted, the first fix plumbing needs to be done. The cistern is mounted on the wall and will be connected to the pan with a rigid 90-degree flush pipe and a 4inch pan connector. However, if you are using half-height DUCT sets, then you will need to work to their dimensions to ensure they fit correctly. As a rule of thumb, most half-height DUCT sets come in at 1200mm high. In which case it is best to make sure the top of your fitted cistern is no higher than 1180mm from the floor.
STEP TWO: Install the DUCT SET
Construct and install your DUCT set ensuring fixings are secure at all points. Carefully handle the IPS panels and fix them to the DUCT framing. Be sure to make extra considerations during install to protect your panels.
STEP THREE: Mark and cut your openings
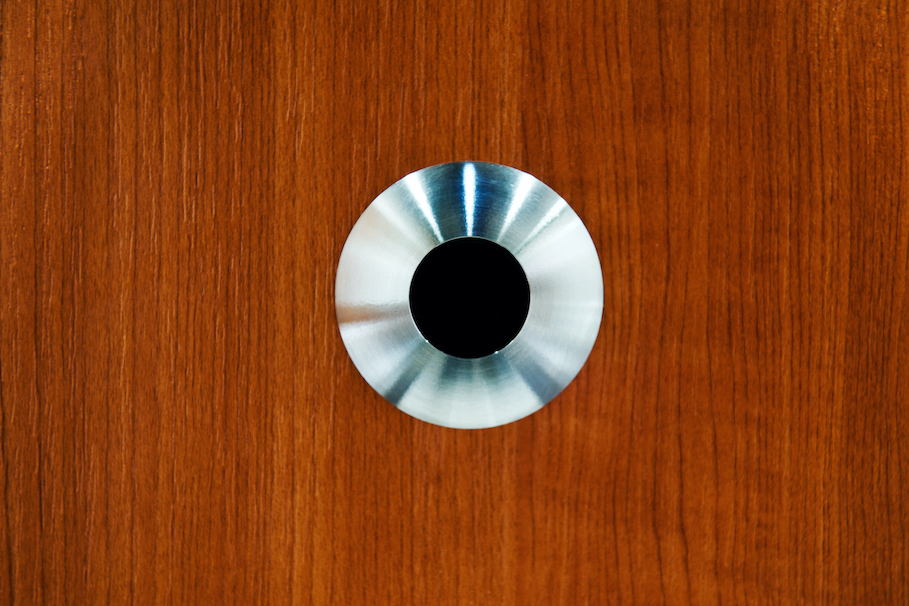
With the IPS panels and DUCT set all in place, offer up your back to wall toilet pan and mark around the edge of it with a pencil. Move the toilet to one side and remove the panel from the DUCT set. Now measure in 20mm inside the marked line and create a marking to cut. You will be cutting the slightly smaller internal marking to create your opening for waste and flush pipes. This is also the time to measure, mark and cut where your flush control will be located too.
STEP FOUR: Fitting pan to the floor and connecting up
Reconnect your IPS panel and again offer up your toilet, making sure the waste and flush pipes are within reach. Mark the floor through the holes on the side of the base of the toilet pan, ready to install your pan fixings.
Remove your back to wall toilet one last time and drill holes for plugs and fixings in the marked locations. Now you can put your toilet pan into its final position, connecting all internal plumbing before securing the pan in place with your floor fixings.
Finally, run a silicone bead around the base of the toilet pan, and up round where the toilet pan meets the rear IPS panel.
If you would like more information on how to install a back to wall toilet, or would like to talk to someone about the options available to your washrooms, please get in touch with one of the team on 01202 650900
MORE TO EXPLORE IN Related Posts
DVS Automatic Toilet Sensor Flush Kit
As low as £408.00 £340.00
RAK-Tonique Back To Wall Toilet
As low as £146.40 £122.00
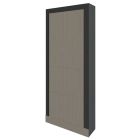
Full Height Blank IPS Duct Panel Set
As low as £342.00 £285.00
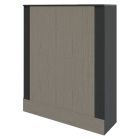
Half Height Blank IPS Duct Panel Set
As low as £253.20 £211.00

